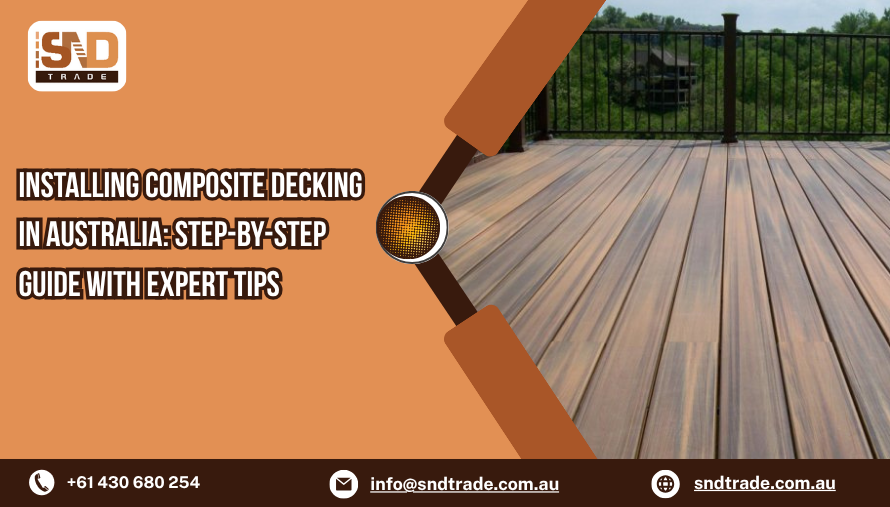
Why Composite Decking is Taking Over Aussie Backyards
Thinking of upgrading your outdoor space? You’re not alone. Over 70% of new decking projects in Australia now choose composite decking over timber, thanks to its low maintenance, durability, and eco-friendly benefits. If you’re planning to install one yourself or hire a composite decking installer in Melbourne, knowing the right steps can save you time and money.
This guide breaks down how to install composite decking the right way—whether you’re DIYing it or supervising a professional.
1. What is Composite Decking and Why Is It Popular in Australia?
Composite decking is made from a blend of recycled wood fibres and plastic. It mimics the appearance of timber but lasts much longer without warping, rotting, or splintering.
Benefits of composite decking:
- 🔧 Low maintenance (no oiling or staining required)
- 🌦️ Weather-resistant – ideal for Australia’s hot summers and rainy seasons
- 🌱 Eco-friendly – made from recycled materials
- 🔒 Safer – no splinters or warping
2. Tools and Materials You’ll Need
Before installing, prepare the following:
- Composite decking boards
- Starter clips and screws
- Joists (timber or composite)
- Power drill
- Spacers
- Tape measure
- Safety gear (gloves, goggles)
Make sure you source your boards from trusted composite decking suppliers for quality and warranty assurance.
3. Planning Your Deck: Site Inspection and Layout
- Check regulations: Local councils may require a permit.
- Measure the space: Use a string line and chalk to mark the deck perimeter.
- Drainage matters: Ensure your decking site is slightly sloped (1:100 ratio) to prevent water pooling.
- Ventilation: Leave enough space under the deck to allow airflow and avoid mould.
4. Installing the Subframe (Joist System)
Whether you’re using timber or composite joists, secure them correctly:
- Joist spacing: Standard 300–400mm (centre-to-centre)
- Fixing: Use galvanised or stainless-steel screws for longevity
- Double-check levels: Uneven joists lead to uneven decking
🔍 Tip: Composite decking boards expand and contract with temperature changes. Don’t forget expansion gaps—usually 3–5mm between boards.
5. Laying the First Board: Starter Clips Matter
Use starter clips to anchor your first board. Position it accurately because the rest of your boards will align with this one.
- Screw clips to the joist and slide in the first board.
- Ensure perfect alignment—it sets the tone for the whole deck.
6. Securing the Decking Boards
- Hidden fasteners: These give a sleek finish without visible screws.
- Use spacers: Maintain even gaps between boards.
- Continue row by row: Slide the next board into the clip and screw it down before moving to the next.
🔥 Common Mistake to Avoid: Over-tightening screws can damage the board and limit expansion movement.
7. Cutting Boards to Fit
Use a circular saw with a fine-tooth blade for cleaner cuts. Always wear safety goggles while cutting.
📏 Pro tip: Pre-measure and cut all end pieces for uniformity.
8. Finishing Touches: Trims, Edges, and Stairs
- Use matching edge trims for a polished look.
- Install fascia boards around the perimeter.
- For stairs, use anti-slip nosing for extra safety.
9. Post-Installation Care & Maintenance
Even though composite decking is low maintenance, a little care helps:
- Clean with warm water and mild soap every 3–6 months
- Use a soft brush to remove debris from gaps
- Avoid high-pressure washers that exceed 3,000 PSI
🧽 Fun Fact: Composite decks can last over 25 years with minimal upkeep—nearly double the lifespan of traditional timber!
Latest Trends in Composite Decking Installation (2025 Update)
- Integrated lighting systems are growing in popularity
- DIY installations up by 28% across Australia (Source: Trex AU 2024 Report)
- Use of eco-certified materials has surged due to increasing sustainability awareness
Top 5 Mistakes to Avoid When Installing Composite Decking
- Skipping the expansion gap
- Installing without a slight slope for drainage
- Using incorrect fasteners
- Forgetting to pre-drill near board edges
- Not checking level and alignment regularly
Conclusion: DIY or Hire a Pro?
Installing composite decking can be a rewarding DIY project or a smooth professional job—if done right. The key lies in planning, the right tools, and knowing what mistakes to avoid. Whether you’re a homeowner looking to upgrade or a builder seeking reliability, composite decking offers a stylish, long-term outdoor solution.
For Melbourne homeowners, consider trusted composite decking installers in Melbourne to ensure top-notch installation. And if you’re sourcing boards, check out experienced composite decking suppliers for quality products with warranties.
FAQs About Installing Composite Decking
1) How long does it take to install composite decking?
A standard 20m² deck takes 1–2 days for professionals and 2–4 days for DIY.
2) Can I install composite decking over concrete?
Yes, but you’ll need to use battens or a subframe for air circulation.
3) Do I need to seal composite decking?
No sealing is needed—it’s one of the biggest advantages over timber.
4) What is the best gap between composite decking boards?
Usually 3mm between boards and 6mm from any wall or fixed surface.
5) Is composite decking slippery when wet?
High-quality boards have slip-resistant textures. Still, anti-slip strips can be added for safety.

