Wall cladding isn’t just about aesthetics—it’s a smart move for protection, insulation, and durability. And when it comes to low-maintenance, eco-friendly options, WPC (Wood Plastic Composite) wall cladding is quickly becoming the top choice across Australia. Whether you’re a DIY enthusiast or hiring a tradie, understanding the wpc wall cladding installation process is crucial.
If you’re searching for high-quality wpc exterior wall cladding, it’s essential to choose the right product and follow correct installation steps. Let’s dive into this practical guide and help you make the most of your cladding project.
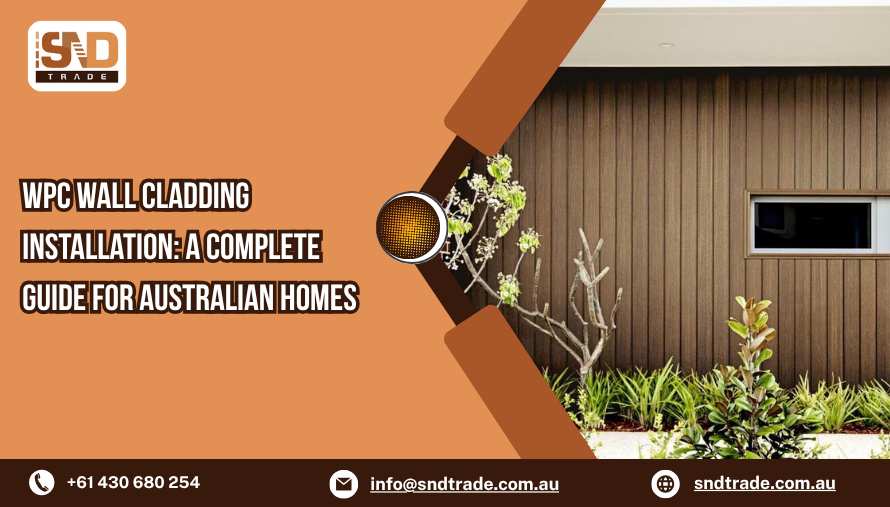
What is WPC Wall Cladding?
WPC wall cladding is a composite material made from a blend of recycled wood fibres and thermoplastics. It mimics the natural look of timber while offering superior resistance to weather, pests, and rot—perfect for Aussie climates, from Perth’s dry heat to Melbourne’s unpredictable rain.
Key Benefits:
- Termite & moisture resistant
- UV protected & fade resistant
- Easy to clean and maintain
- Environmentally friendly
- Long-lasting with minimal upkeep
Essential Tools and Materials for Installation
Before you get started, here’s what you’ll need:
- WPC cladding panels
- Starter clips and fasteners
- Power drill and screws
- Spirit level and measuring tape
- Wood or metal battens (substrate)
- Trim profiles for corners and edges
Pro Tip: Always check with your supplier if they offer pre-drilled panels or matching trims to save time.
Step-by-Step WPC Wall Cladding Installation
1. Prepare the Wall Surface
Ensure your wall is clean, flat, and dry. If it’s a concrete wall, you might need to drill and fix wooden or metal battens for the cladding to adhere properly.
2. Fix the Battens
Install vertical or horizontal battens based on your preferred cladding direction. The spacing should be around 400–600mm apart.
3. Install the Starter Clips
Starter clips are fixed at the bottom to hold the first panel. Make sure they are level—this determines the alignment of the entire cladding.
4. Mount the First Panel
Slide the bottom of your WPC panel into the starter clips and fix it securely into the batten using stainless steel screws. Use a level to double-check alignment.
5. Continue Panel Installation
Repeat the process upwards. Use interlocking grooves to connect panels, and ensure adequate expansion gaps (5-7mm) at ends and edges.
6. Add Trims and Finish
Install corner trims, edge trims, or U-profiles to seal off edges and corners for a clean, professional look.
Common Mistakes to Avoid
- Ignoring expansion gaps
- Using the wrong fasteners
- Not sealing or treating the batten substrate
- Poor alignment from an unlevel starter row
- Improper water drainage planning
Maintenance Tips
One of the best parts of WPC cladding is that it’s virtually maintenance-free. Still, here are a few tips:
- Wash annually with water and mild detergent
- Check screws and trims once a year
- Avoid using harsh chemicals or pressure washers
Latest Industry Trends & Stats
- According to MarketWatch, the global WPC cladding market is expected to grow at a CAGR of 6.5% from 2023 to 2030.
- In Australia, sustainable construction demand is pushing builders to adopt materials like WPC, especially in coastal and bushfire-prone areas.
Why Australians Prefer WPC Wall Cladding
Whether it’s coastal homes in Gold Coast or rural builds in Victoria, Australians are embracing WPC for its resilience and timber-like finish—minus the termites and sanding!
If you’re planning a renovation or a new build, check out cladding suppliers Australia for reliable sourcing options tailored to your region.
Frequently Asked Questions (FAQs)
1) How long does it take to install WPC wall cladding?
Typically, a standard-sized wall can be clad in a day or two depending on wall prep, panel size, and team size.
2) Can WPC cladding be installed over existing walls?
Yes, but it’s important to ensure the existing surface is dry, level, and supports a proper batten structure.
3) Is WPC suitable for both interior and exterior use?
Absolutely. While WPC is mostly used externally, many homeowners are exploring interior feature walls using WPC panels.
4) Do I need professional help to install WPC cladding?
Not necessarily. DIYers with basic tools and some carpentry experience can install it, but larger projects may benefit from professional support.
5) How much does WPC wall cladding cost in Australia?
Prices vary by brand and profile, but you can expect around $50–$120 per square metre, including installation in most areas.